




When to Replace a Cutting Edge: Wear Limits for Dozer and Grader Blades
Summary: About blog: A practical guide to deciding when to replace a cutting edge. Covers how to measure wear against the OEM limit, a monitor, plan and replace routine, when an edge can be reversed, and how to match a new edge to the blade.
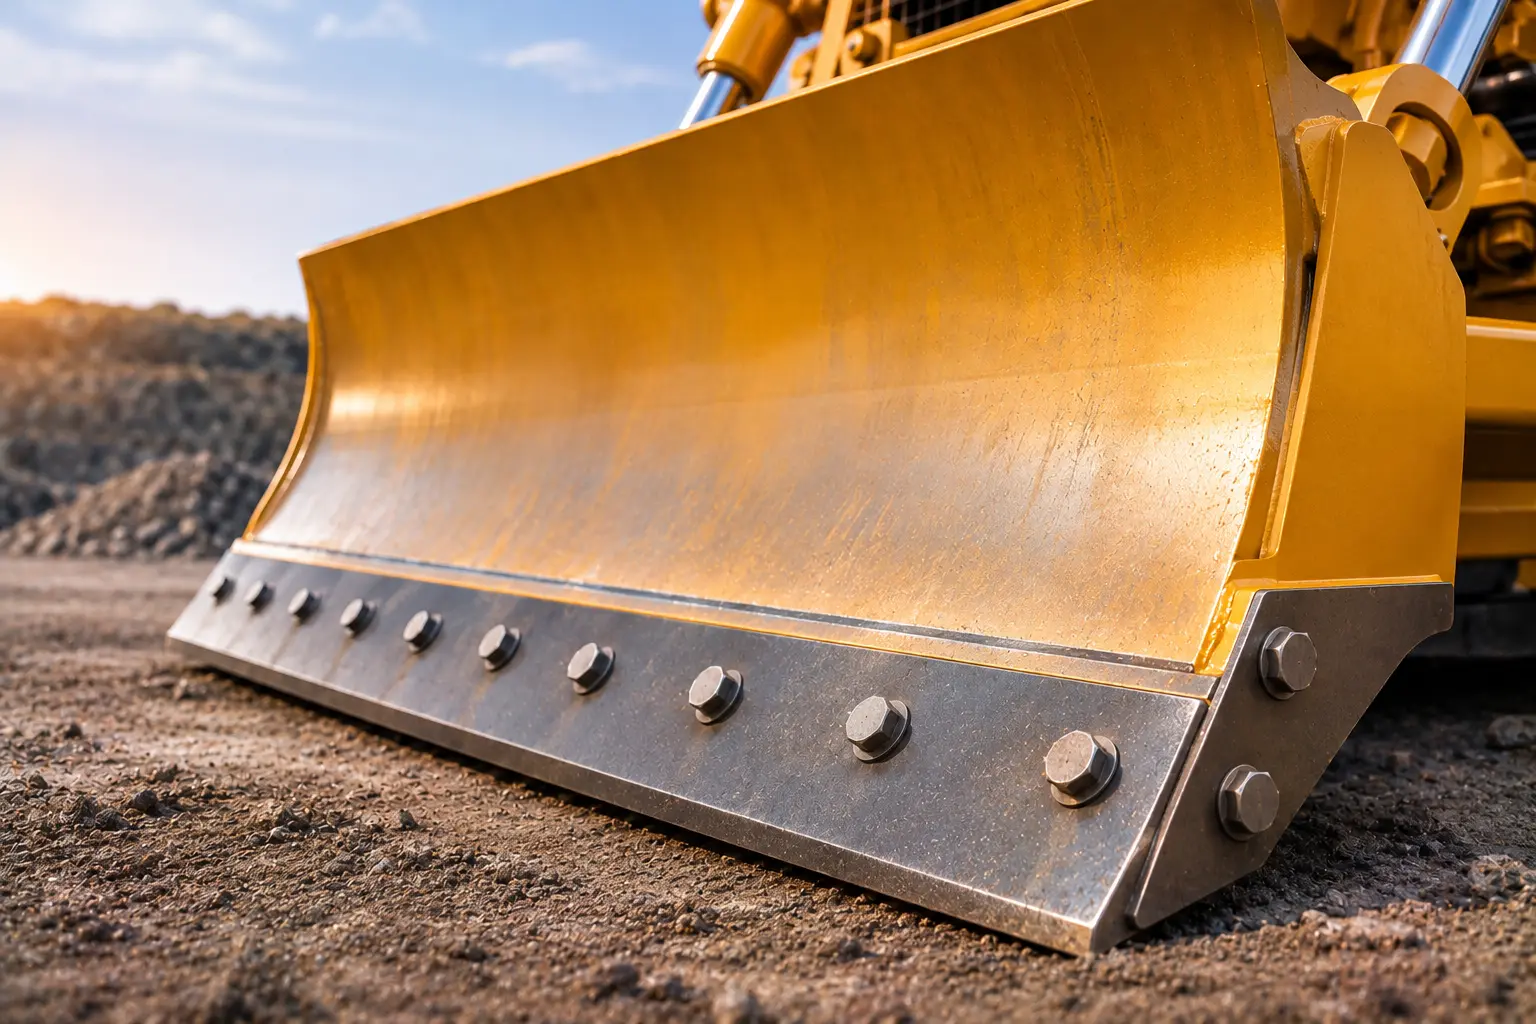
A cutting edge is built to wear out. It takes the abrasion so the blade behind it does not. The aim is to replace it at the right moment: not so early that you waste steel, and not so late that wear reaches the blade.
This guide explains when to replace a cutting edge on dozer and grader blades, how to measure the wear, and what to check before you order the next one.
1. What a Cutting Edge Protects
The cutting edge is a replaceable strip typically bolted to the bottom of a dozer or grader blade. The end bits protect the outer ends. Together they carry the contact with the ground, and the blade sits behind them.
The edge costs far less than the blade it protects. That is the whole logic of replacing it on schedule.
2. Why There Is No Single Wear Limit
Many readers want one number. There is none. The limit depends on the machine, the edge design and the maker, so the figure to use is the one in your OEM manual.
Be wary of a fleet-wide rule applied to unrelated machines. A limit that suits one grader may be wrong for a different dozer. Use the specification for the exact machine and edge.
3. How to Measure Edge Wear
Measure the same way each time. On many graders, the measurement is taken from the centre of a bolt to the edge, and compared with the value in the operator manual. Your OEM states the method for your machine.
- Clean the edge so the metal is visible.
- Park on level ground and make the machine safe.
- Measure at the centre and near each end.
- Record the figures, the date and the machine hours.
- Compare the result with the manufacturer's limit.
Take readings at the points specified by the manufacturer because wear is rarely even. Record any uneven wear and compare the measurements using the method given in the OEM manual.
Also note the pattern. If one end is wearing faster than the rest, that tells you something about how the machine is being used.
4. Monitor, Plan, Replace
| Stage | What it means | What to do |
|---|---|---|
| Monitor | Within the approved usable range | Record the measurement and check again at the next interval |
| Plan | Approaching the replacement point | Confirm the part number, order the edge and book the work |
| Replace | At the limit, or damaged | Replace using the OEM procedure |
The middle stage is the one that saves money. Ordering at the Plan stage means the edge is ready when the limit arrives, and the machine does not wait.
5. Replace Early If You Find Damage
Do not wait for the limit if the edge shows any of the following:
- Cracks or broken sections.
- Loose or missing bolts, which require immediate inspection and correction; replace the edge if it has been damaged.
- Uneven wear that keeps recurring in the same spot.
- Wear that has reached the bolt holes.
Repeated wear in one place needs a look at the cause, not just a new edge. It is worth investigating before the next edge goes on.
6. Flipping or Reversing the Edge
Some edges can be turned over or end for end, which gives a second life from the same part. Others cannot. The edge must be designed for it, and your OEM must allow it.
If it can be done, inspect the edge and the mounting surface first. Fit it with the specified hardware and torque, and log the date so the reversal is recorded separately from the first fitting.
7. Bolts and Fitting
Use new bolts and nuts where required by the manufacturer, and replace any damaged hardware. Follow the tightening sequence and torque values specified in the OEM manual.
Keep the hardware at the specified torque. Loose bolts are a reason to act, because a moving edge can damage both the edge and the blade.
8. The Cost of Running an Edge Too Long
When an edge wears through, the blade starts to wear. Repairing or replacing the blade is a much larger job than replacing the cutting edge. It can mean welding, rebuilding or replacement, plus the time the machine is off the job.
Replacing on time is a form of insurance. The edge is a small cost against everything it protects.
9. Matching a New Edge to the Blade
A new edge has to match the old one. Check the thickness, the width, the length, the number of holes and the hole size. Tuffex listings carry these details. For example, a 20 mm thick edge listed for the D65A-8 has 11 holes of 21.3 mm, and a 25 mm edge listed for the D80A-18 and D85A-18 has 8 holes of 21.5 mm.
Material is a separate choice. To decide between boron and carbon steel, read Boron Steel vs Carbon Steel Wear Plates: Which Material Suits Your Bucket? For the matching end bits, check the thickness and hole pattern in the same way.
Examples from the Tuffex listings
| Part | Listed for | Size | Holes |
|---|---|---|---|
| Cutting edge | D65A-8 | 20 x 203 x 1660 mm | 11 holes, 21.3 mm |
| Cutting edge | D80A-18, D85A-18 | 25 x 254 x 1157.6 mm | 8 holes, 21.5 mm |
| Grader blade | GD705A | 16 x 203.2 x 2133.6 mm | 15 holes, 21.2 mm |
| Grader blade | 12H, 120H | 16 x 152.4 x 1828.8 mm | 13 holes, 18.2 mm |
| End bit | D65A-8 | 25 mm thick | 5 holes, 22 mm |
10. A Short Checklist Before You Order
- Part type: cutting edge, end bit, grader blade or overlay.
- Machine model the part is listed for.
- Thickness, width and length.
- Number of holes and hole diameter.
- Material: boron or carbon steel.
- Whether the end bits need replacing at the same time.
Matching these details avoids the most common ordering mistake, which is a part that is close in size but does not line up with the blade.